Writing content is only half the battle. The real bottleneck is the operational drag that happens after the draft is approved: manually building internal links, fighting with CMS formatting, and double-checking metadata.
For most marketing teams, this post-writing phase takes just as long as the writing itself. It is repetitive, rule-based execution work that drains your team's bandwidth and introduces human error.
Automated content management eliminates this overhead. It is not about replacing writers; it is about automating the mechanical pipeline surrounding your content so you can publish faster, scale your SEO equity, and stop content decay.
This guide outlines 5 practical, high-ROI automation workflows that focus on marketing content operations—complete with step-by-step setup instructions and honest tool comparisons.
Key Takeaways:
- Operations Over Creation: Automation handles the heavy lifting after writing—linking, formatting, metadata, and scheduling—not content generation.
- Faster SEO Maintenance: Internal link automation helps surface link opportunities and reduce orphan pages, but link quality still needs editorial review.
- Kill the Copy-Paste Cycle: Markdown-to-CMS automation parses drafts and maps fields directly to your CMS via API, eliminating manual formatting.
- One-Time Investment: Build your rules once; the system executes repeatedly without recurring manual overhead.
- Next-Gen AI Agents: Tools like AllyHub can handle browser-based CMS workflows when API setup is unavailable or too costly.
What Does Automated Content Management Actually Mean?
Automated content management refers to using tools, workflows, and AI to handle the operational tasks involved in managing content — particularly the repetitive, rule-based work that happens before, during, and after publishing.
This includes:
- Internal link insertion — scanning published content and adding contextually relevant links to other pages on your site
- Content formatting — converting Markdown or raw drafts into CMS-ready structured content
- Metadata management — auto-populating or updating SEO fields (title tags, meta descriptions, alt text, slugs)
- CMS publishing workflows — routing content through approval stages and triggering publish actions via API or direct browser automation
- Content updates at scale — refreshing existing posts (updating dates, replacing broken links, adding new internal links) without manual editing
📌 Note: Content management automation is distinct from AI content generation. Generation produces the words. Automation handles everything that happens to those words before and after they're written — the operational layer that most teams still do manually.
Why Marketers Are Automating Content Management in 2026
While publishing volume has scaled, the operational overhead per piece hasn't. Teams are automating to eliminate four critical bottlenecks:
- Lost SEO Equity: Manual internal linking doesn't scale, leaving hundreds of high-value pages orphaned.
- CMS Friction: Hours wasted copy-pasting and reformatting Markdown or Google Docs into structured CMS fields.
- Inconsistent Metadata: Human error and deadline pressure lead to missing or poorly formatted SEO tags.
- Content Decay: Older posts are going stale and breaking because continuous manual audits are impractical.
Workflow 1: Automated Internal Link Insertion
Internal linking is one of the highest-ROI SEO activities — and one of the most neglected, because doing it manually across hundreds of posts is impractical. Automated internal linking tools scan your site, identify contextually relevant link opportunities, and insert them either automatically or with one-click approval.
Step-by-step:
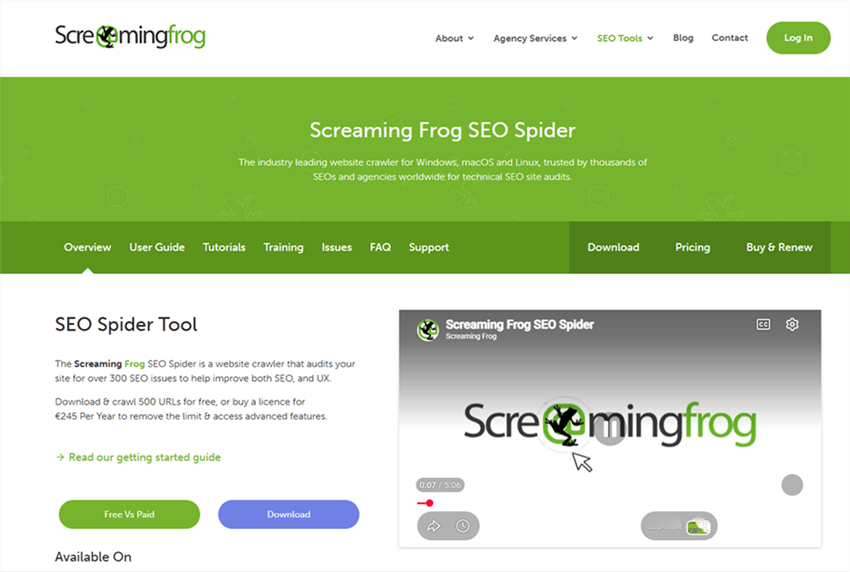
Step 1. Audit your current internal link structure. Before automating, run a site crawl with Screaming Frog or Ahrefs to identify orphan pages (pages with no internal links pointing to them) and pages with thin link equity. This gives you a baseline.
Step 2. Choose an internal linking tool based on your CMS (see comparison below).
Step 3. Install and configure the tool. Most WordPress plugins (Link Whisper, Internal Link Juicer) install in minutes. Set your target pages — the posts and pages you most want to rank — as priority link destinations.
Step 4. Run the initial scan. The tool crawls your existing content and generates link suggestions. Review the first batch manually to calibrate the tool's relevance threshold.
Step 5. Set automation rules. Define which link insertions can happen automatically (e.g., exact-match keyword → target page) vs. which require manual approval (e.g., partial-match suggestions).
Step 6. Enable auto-linking for new content. Configure the tool to scan and suggest links every time a new post is published — so your internal link graph stays current without manual intervention.
Step 7. Review monthly reports. Most tools provide link reports showing which pages gained links, which are still orphaned, and where anchor text is over-concentrated. Use these to refine your rules.
Tool comparison for internal link automation:
Tool | CMS Compatibility | Best For | Pricing | Limitation |
WordPress only | WordPress blogs with 50–500 posts |
Best for: SEO-focused content teams publishing 4+ posts per month on WordPress or any CMS with crawl access. Particularly high-value for sites with 100+ published posts where manual linking is no longer feasible.
💡 Pro tip: Prioritize linking to your highest-value commercial pages (product pages, service pages, high-converting landing pages) from informational blog content. This is where internal linking has the most direct revenue impact — and it's the pattern most automated tools support natively.
Workflow 2: Markdown-to-CMS Publishing Automation
If your writers work in Markdown (or Google Docs, Notion, or any plain-text format) and your CMS requires structured fields, the conversion process is a recurring time sink. Automated Markdown-to-CMS publishing eliminates the copy-paste-reformat cycle entirely.
Step-by-step:
Step 1. Map your CMS field schema. List every field your CMS requires for a published post: title, body, slug, meta title, meta description, featured image, tags, categories, author, publish date. This is the target schema your automation needs to populate.
Step 2. Standardize your Markdown template. Add a YAML front matter block to your Markdown files that maps to your CMS fields:
title: "Your Post Title"
slug: "your-post-slug"
meta_description: "Your meta description here"
tags: ["tag1", "tag2"]
publish_date: "2026-07-07"
Step 3. Choose your publishing method based on your CMS:
- WordPress: Use the WordPress REST API with a Zapier or Make workflow, or a tool like AirOps or custom automation workflows can help generate and route CMS-ready content.
- Webflow /Contentful /Sanity: These headless CMS platforms have robust APIs. Use Make or a custom script to POST content to the API endpoint.
- Ghost: Ghost has a native Admin API that accepts Markdown directly — one of the cleanest Markdown-to-CMS pipelines available.
Step 4. Build the automation trigger. Common triggers: a new file added to a Google Drive folder, a Notion page moved to "Ready to Publish" status, or a GitHub commit to your content repository.
Step 5. Add a validation step. Before publishing, have the automation check that all required fields are populated and that the slug doesn't already exist. Route failures to a Slack notification rather than silently failing.
Step 6. Test with a draft post first. Publish to draft status initially, verify the front-end rendering, then switch to auto-publish once you're confident in the pipeline.
Best for: Content teams where writers and editors work in Markdown, Notion, or Google Docs and the CMS publishing step is a manual handoff. Particularly valuable for teams publishing 10+ posts per month where the formatting overhead compounds significantly.
⚠️ Warning: Automated CMS publishing bypasses the visual editor review step. Always include a post-publish front-end check in your workflow — either automated (screenshot comparison) or a quick manual spot-check — to catch formatting issues before readers see them.
Workflow 3: Automated Metadata Management
Inconsistent metadata is one of the most common and most fixable SEO problems on content-heavy sites. When meta titles and descriptions are filled in manually under deadline pressure, they're often too long, too short, duplicated, or missing entirely. Automated metadata management enforces standards at scale.
Step-by-step:
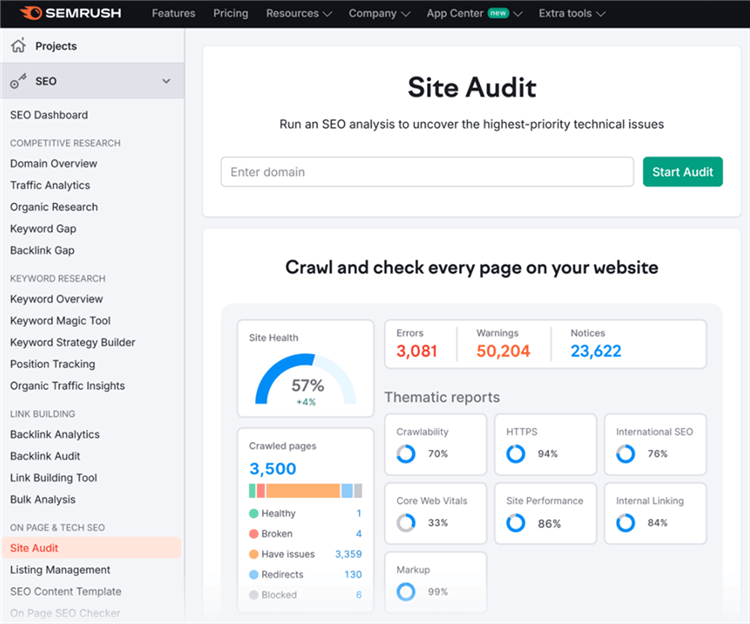
Step 1. Audit your current metadata. Use Screaming Frog or Semrush's Site Audit to export all existing meta titles and descriptions. Flag: missing, duplicate, too long (>65 chars for title, >160 for description), too short (<30 chars).
Step 2. Define your metadata templates. Create fill-in-the-blank templates for each content type:
- Blog post: [Post Title] — [Site Name] (title) / [First 155 chars of intro paragraph] (description)
- Product page: [Product Name]: [Key Benefit] | [Brand Name]
- Category page: [Category Name]: [Number] [Content Type] on [Topic]
Step 3. Configure auto-generation rules in your SEO plugin. In Yoast SEO or Rank Math (WordPress), set template-based auto-generation for posts that don't have manually entered metadata. The plugin fills in the template using post data (title, excerpt, category).
Step 4. Set up metadata validation on publish. Configure your SEO plugin to flag (or block) publishing when metadata is missing or out of spec. This creates a quality gate without requiring manual review of every post.
Step 5. Bulk-update existing posts. Use your SEO plugin's bulk edit feature or a tool like Screaming Frog's bulk export + re-import to fix metadata issues across your existing content library.
Step 6. Monitor for regressions. Set up a monthly automated crawl that flags any new metadata issues introduced since the last crawl.
Best for: Content teams managing 50+ published pages where metadata quality is inconsistent. Also essential for e-commerce teams with large product catalogs where manual metadata entry per SKU is not feasible.
Workflow 4: Automated Content Updates and Refresh Workflows
Published content decays. Rankings drop, internal links break, statistics go out of date, and new relevant content gets published without being linked back to older posts. Automated content refresh workflows catch and fix these issues continuously — without your team manually auditing every post.
Step-by-step:
Step 1. Set up rank tracking for all published posts. Use Semrush, Ahrefs, or Google Search Console to monitor ranking positions for your target keywords. Configure alerts for posts that drop more than 5 positions in a week.
Step 2. Define your refresh triggers. Common triggers for a content update:
- Post drops below position 10 for its target keyword
- Post hasn't been updated in 12+ months
- A new internal linking opportunity exists (new post published on a related topic)
- A statistic or tool mentioned in the post is outdated
Step 3. Build a refresh brief template. When a refresh trigger fires, automatically generate a brief: current ranking, target keyword, word count vs. top competitor, missing internal links, outdated sections. Route this brief to your content team via Slack or your project management tool.
Step 4. Automate internal link updates. When you publish a new post, configure your internal linking tool (Link Whisper, Linksy AI) to automatically scan existing posts for opportunities to link to the new post. This prevents new content from being orphaned.
Step 5. Update the "last modified" date automatically. Configure your CMS to update the lastmod field whenever a post is edited. This signals freshness to Google without manual date management.
Step 6. Track refresh ROI. Compare rankings before and after each refresh. Most teams find that refreshing existing content delivers faster ranking improvements than publishing new content — because the page already has authority.
Best for: Content teams with 50+ published posts where content decay is affecting rankings. Particularly high-value for e-commerce teams with product pages and buying guides that reference pricing, availability, or specifications that change frequently.
💡 Pro tip: The highest-ROI refresh targets are posts ranking in positions 8–20 for their target keyword. These posts are close to page-one visibility and often need only minor updates (adding internal links, updating statistics, expanding a thin section) to break through.
Workflow 5: Full Post-Publishing Automation with AI Agents
The workflows above each automate one part of the content management pipeline. But for many marketing teams, the real bottleneck is the coordination between steps: after writing a post, someone still needs to add internal links, check metadata, verify the front-end rendering, update the content calendar, and notify the team.
This is where AI agent tools change the equation — by handling the entire post-publishing workflow as a single automated sequence, not a series of disconnected manual steps.
AllyHub is built for exactly this kind of workflow. Rather than connecting APIs or building Zapier chains, once you are logged in or have permission, AllyHub can help navigate to a published post, add internal links, update metadata fields, verify the front-end rendering, and mark the task complete in your project management tool, all in one automated run.
What this looks like in practice:
A marketer pastes their finished Markdown content into AllyHub along with their CMS admin URL. AllyHub:
- Parses the content structure and maps it to the CMS field schema
- Navigates to the CMS admin panel and populates all fields
- Scans the site for relevant internal linking opportunities and inserts them
- Verifies the published post renders correctly on the front end
- Returns a confirmation with a screenshot of the live post
What used to require several manual steps can become a repeatable workflow that saves minutes to hours. And because AllyHub builds reusable Service assets from completed workflows, the second time you run this workflow it's faster and more accurate than the first. Your team defines the rules once; AllyHub executes them every time.
Step-by-step (using AllyHub for post-publishing automation):
Step 1. Prepare your content. Write your post in Markdown with YAML front matter (title, slug, meta description, tags).
Step 2. Open AllyHub and create a new task: "Publish this blog post to [CMS name] and add internal links."
Step 3. Paste your Markdown content and provide your CMS admin URL.
Step 4. AllyHub navigates to your CMS, parses the content, and populates all fields — body, title, slug, metadata, tags.
Step 5. AllyHub scans your site for internal linking opportunities relevant to the new post's topic and inserts links with appropriate anchor text.
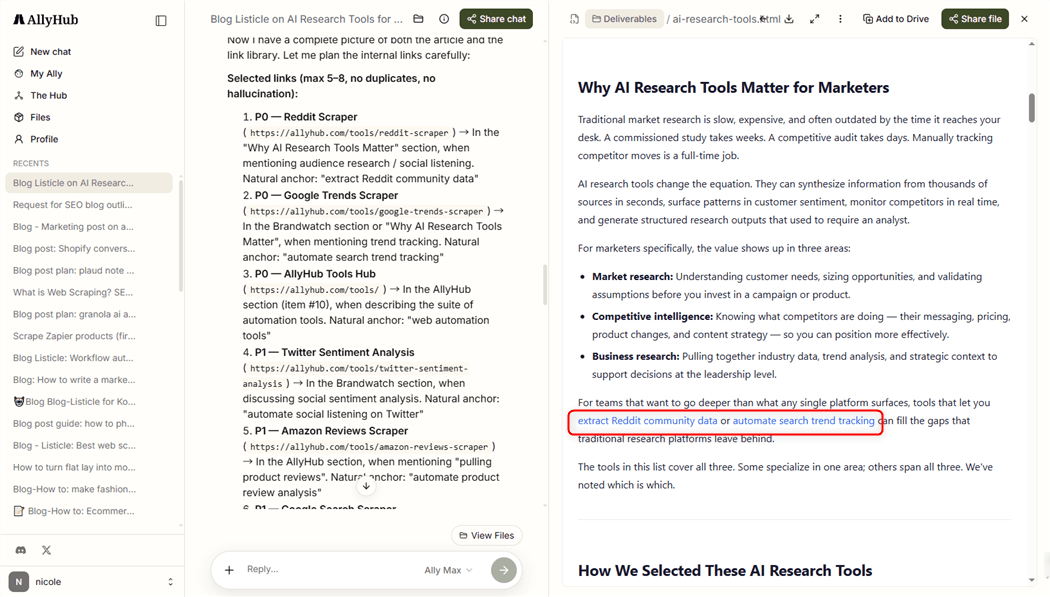
Step 6. AllyHub publishes the post (or saves it as a draft if you prefer a review step) and takes a screenshot of the live front end for verification.
Step 7. Save the workflow as a Service. Once the workflow runs successfully, package it as a one-click AllyHub Service — so any team member can trigger the same sequence next time without re-explaining the steps.
Best for: Marketing teams that publish regularly and want to eliminate the manual coordination layer between writing and live publishing. Particularly valuable for teams without developer resources to build and maintain API-based automation pipelines.
✅ Recommended: If your team's content bottleneck is the post-writing operational work — adding links, formatting, checking metadata, verifying rendering — AllyHub addresses this as a single workflow rather than requiring you to stitch together multiple tools. Try AllyHub with your next blog post to see how it handles your specific CMS setup.
How to Choose the Right Automated Content Management Approach
Your Situation | Start Here |
WordPress site with 100+ posts and weak internal linking | Workflow 1: Link Whisper or Linksy AI |
Writers work in Markdown; CMS publishing is a manual handoff | Workflow 2: Markdown-to-CMS pipeline |
Metadata is inconsistent across your content library | Workflow 3: Automated metadata management |
💡 Pro tip: Don't try to automate all five workflows at once. Pick the one that costs your team the most time per week, implement it, measure the time recovered, then move to the next. Teams that automate incrementally have higher adoption rates and fewer integration failures than teams that try to overhaul everything simultaneously.
FAQ: Automated Content Management
What is automated content management?
It is the use of software to handle the operational tasks of publishing (formatting, linking, metadata) rather than content creation itself. It automates the execution layer surrounding your words.
What's the difference between content management automation and a CMS?
A CMS is where your content lives. Automation is the toolkit that plugs into your CMS to handle repetitive tasks—like auto-inserting links or formatting drafts—without replacing your existing system.
How does internal link automation work?
Tools crawl your site, analyze semantic relevance, and automatically insert or suggest internal links. Advanced tools automatically update your site's link graph whenever a new post drops.
Can I automate CMS publishing without developer help?
Often, yes — especially for simple workflows. No-code tools can connect standard CMS APIs, while browser-native AI agents like AllyHub can help with UI-based workflows when API setup is not practical. Complex CMS structures still benefit from technical review.
How much time does content management automation actually save?
For example, teams publishing 10+ pieces a month typically save over one full workday per week. On average, this breaks down to 1–3 hours/week saved on linking and 20–40 minutes saved per post on formatting.
Is this suitable for small marketing teams?
Yes—small teams see the highest ROI because they have the least bandwidth for manual overhead. A one-time 2–4 hour setup compounds into hours saved on every future post.
What are the risks of automating content management tasks?
The primary risks are poor anchor text choices, formatting glitches, or generic metadata tags. You can easily mitigate these by keeping a human-in-the-loop approval gate for your first batch of links and doing a quick post-publish visual check.